

Hand-Painted Paintings | How to Paint with Oil Colors
Dear visitors of the site and art lovers, in this article we will explain the 6 steps you should take to start painting with oil colors and create beautiful paintings for your wall that you can hang at home or gift to a friend.
Painting is an incredibly enjoyable and relaxing activity. It’s no wonder that evening painting sessions with wine have recently gained widespread popularity. Many people seeking variety attend these sessions to spend a pleasant evening in the company of friends, art, and a glass of wine.
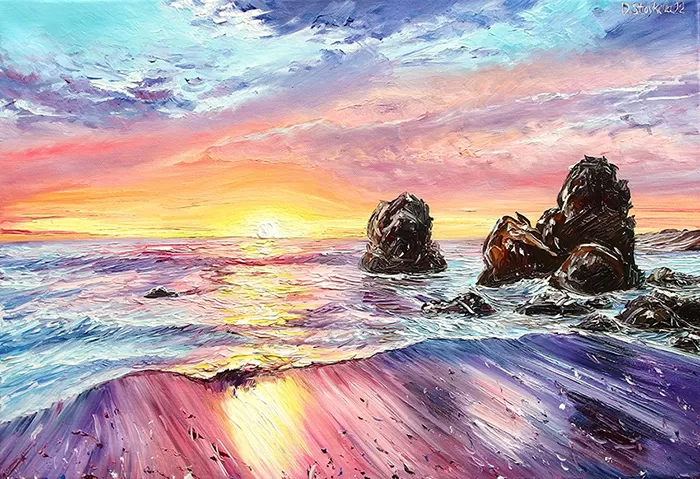
Is it Difficult to Paint with Oil Colors? How to Create Amazing Hand-Painted Paintings on Your Own.
You don’t need to plan to become a professional artist to start painting with oil colors. In fact, it is not as difficult as most people think. Oil colors are a very enjoyable material to use, spreading easily and mixing with ease, allowing you to paint beautiful textured and vibrant paintings on your own.
Don’t be critical of yourself if your first attempts with oil colors turn out unsuccessful. It’s important that this activity brings you joy and calms you down, reducing the stress of the workday or filling your free time over the weekend.
And so, what are the 6 simple steps to start painting with oil colors?
Hand-Painted Paintings - 6 Simple Steps to Start Painting on Your Own
1. Gather the Necessary Painting Materials.
At first, it’s important to acquire oil colors, a painting canvas, and a few brushes or spatulas. An art supply store will recommend what you should buy. There are ready-made sets of oil colors from various brands with 10 or 20 colors, about 20 to 30 ml each, which are great for beginners.
As for the canvases, you can choose a canvas stretched on a frame or mounted on cardboard. Don’t rush to buy the most expensive canvases, oil colors, brushes, and spatulas. They are not necessary for non-professionals. Get 3 sizes of brushes – thin, medium, and thick, and one standard spatula.
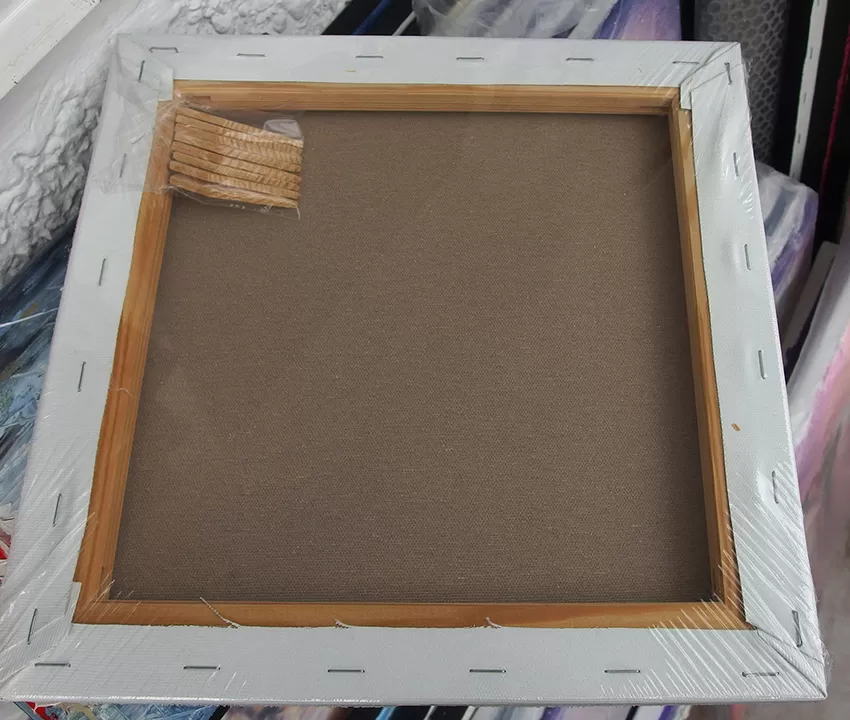
Canvas for painting with a wooden frame
You will need a palette for mixing colors. For convenience, you can also use disposable plates, which you can throw away and not worry about cleaning.
Stock up on wet wipes or rags to clean your brushes and spatulas. After working, always wash your brushes with thinner or soap, otherwise, they will harden and become unusable.
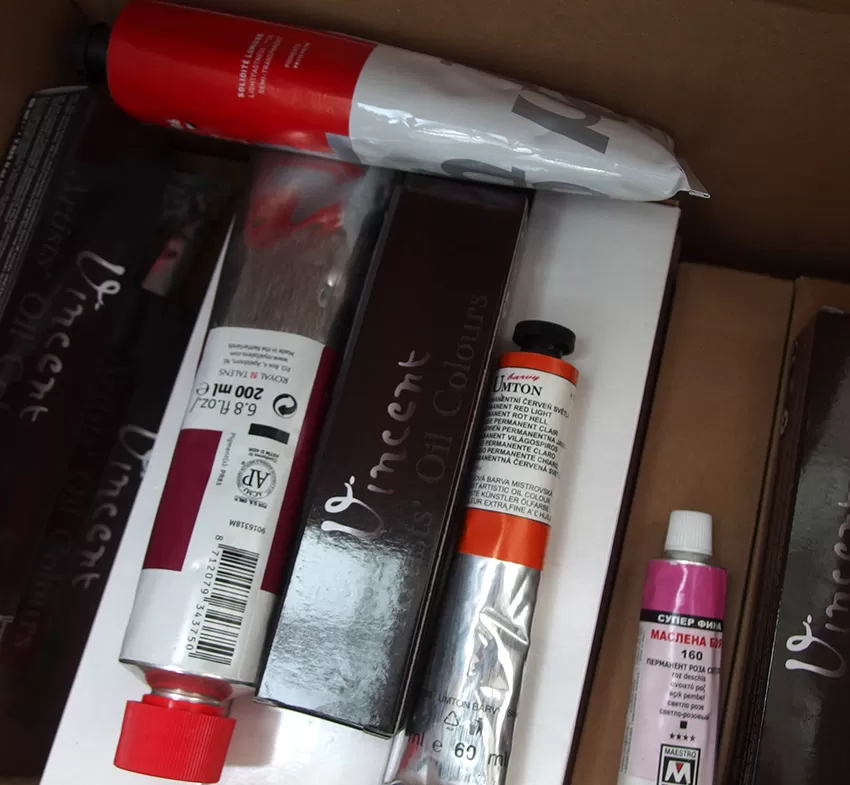
Types of oil colors in small and large tubes
When working with oil colors, brushes are not dipped in water; the paint is thinned when necessary with a thinner - white spirit, linseed oil, or turpentine, which, however, is not mandatory. You can paint only with the colors, without inhaling the toxic fumes from the thinners, which often cause allergies. Before applying different colors, make sure to clean the brush and absorb the old color of the paint.
2 How to Paint with Colors? Get to Know the Material.
Experiment with the material. You need to feel the consistency of the oil colors, how the colors mix, how they thin when necessary, and what colors are obtained through mixing. Painting with a spatula can be a little more challenging for beginners, but it is definitely effective and allows you to build a specific texture in the painting with oil colors. Take several test canvases instead of just one. They will be necessary for you to familiarize yourself with working with oil colors.
3 How to Shape the Composition in Hand-Painted Paintings?
Get acquainted with composition – this is how you arrange the main elements of your painting on the canvas. It’s important that the center of the composition does not go out of the canvas. Leave some background around the main object. Composition is very important when you paint paintings for your wall on your own. It can be central, with your main object placed in the center of the canvas. Another option is to have the object positioned to the left or right of the center of the canvas. In this case, it’s important to create balance in the composition with an additional element or color where it looks “empty.” It doesn’t look nice if your composition is cluttered on one side and heavy, while something seems to be missing on another spot. Too much bright color on one end of the canvas also won’t look good. Add a little of that color in other places in the painting.
Arrange the objects in the painting so that there is symmetry, but also some variation. Let the two sides of the painting look balanced, but not perfectly symmetrical, as that would look boring, unless you like it that way.
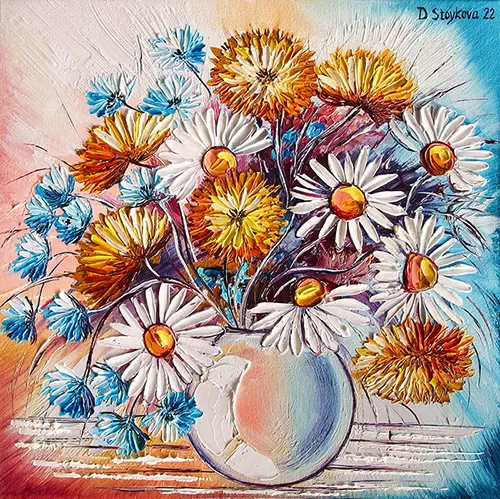
Painting with flowers - example of central composition
4 How to Paint a Landscape? What You Should Know About Perspective in Hand-Painted Paintings?
Perspective is the way objects look when they recede into space. Imaginary symmetrical lines, starting from the foreground of the painting, extended into perspective converge at one point, known as the vanishing point. It is located on the horizontal line of the horizon. In other words, an object in the distance appears smaller proportionately.
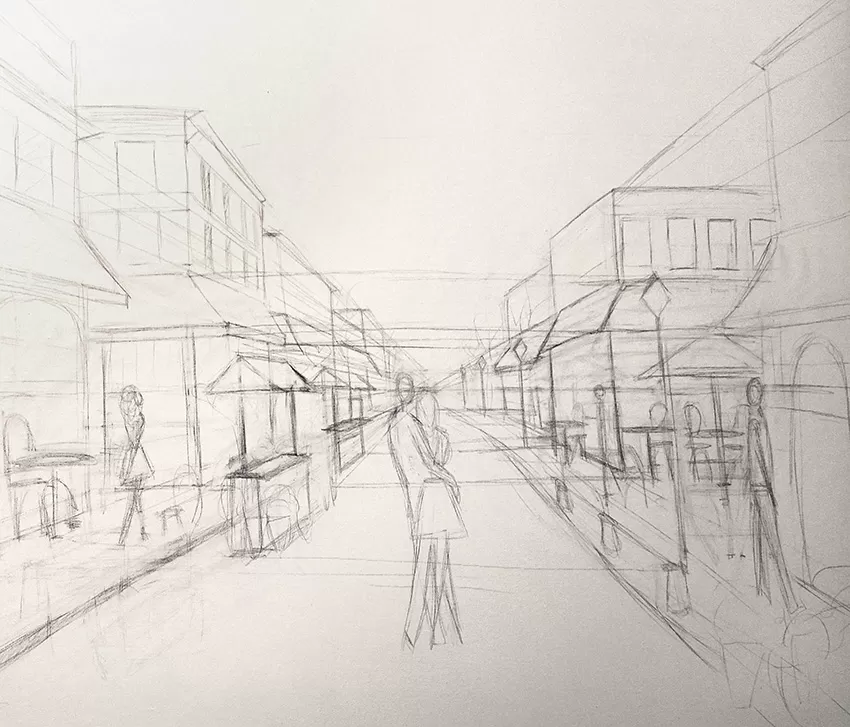
Example of central perspective; the vanishing point is where all the horizon lines meet.
When painting a landscape, keep in mind that colors also fade in the distance, objects become blurred and slightly blue due to the effect of the air. If you’re painting a landscape, you can open drawings and see how to paint in perspective by drawing lines from the bottom edge of the canvas to a vanishing point at horizon level. This way, depth in space is created. Paintings with architectural landscapes are more complex than paintings with flowers and abstract paintings, precisely due to the perspective, which is a complex science and requires more time to master.
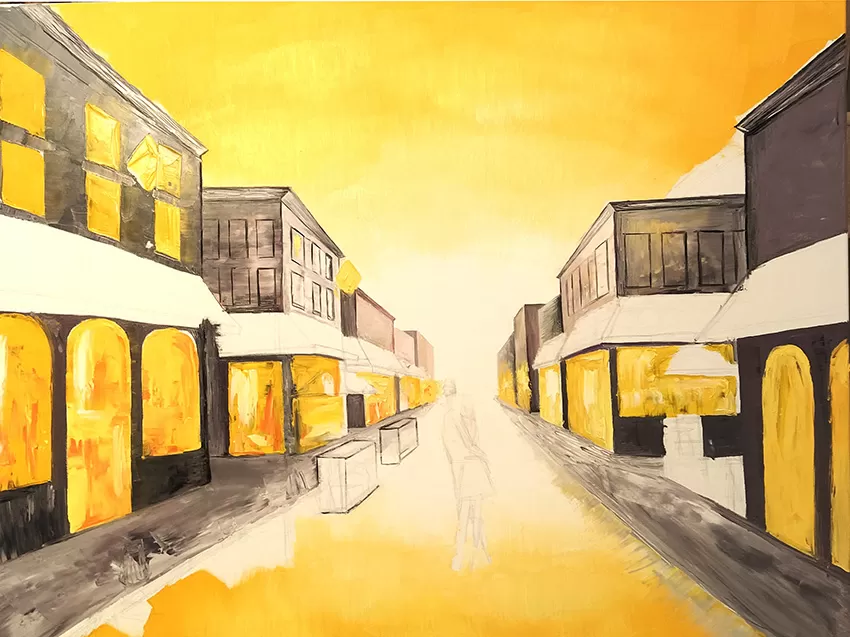
Painting with oil colors at the initial stage
5 Creating Volume in Hand-Painted Paintings. How to Paint Light and Shadow?
Volume is achieved through light and shadow. Simply put, if we choose the light to come from the right, each object will be lighter on the right side and darker on the left side, where the shadow falls. Outside the object, on the left side, the so-called cast shadow will fall.
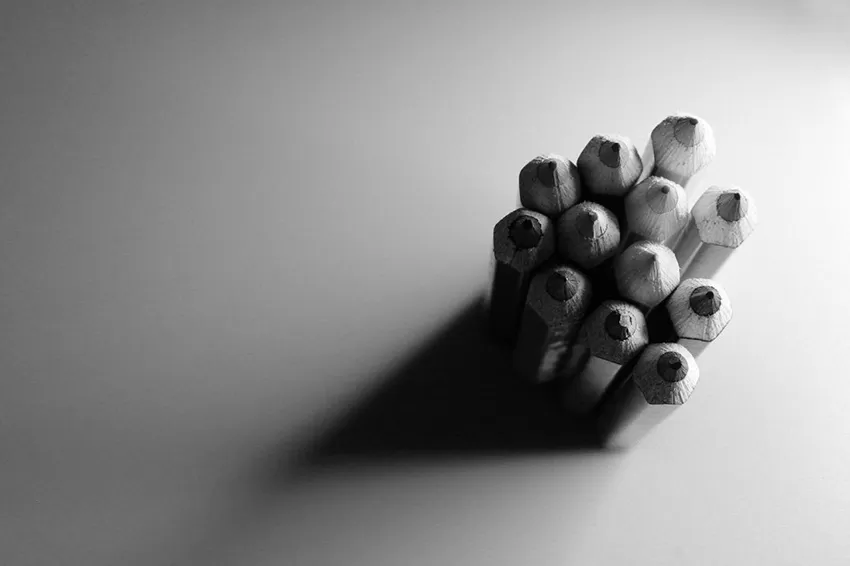
Light from the right, shadow and cast shadow from the left
First, add the dark color in a thin layer, which will be the shadow in your painting, taking the dark colors with the tip of the brush and applying them carefully and in small


Leave a Comment